It’s guest blogger time again! And thankfully my friend and fellow book club member is jumping on the quarantine dye trend with me. Jessica is one of the most resourceful and creative crafters I know so get ready for a fun project that you can do with stuff you already have at home! Also, important note: since Jessica wrote this post, she did adopt the cat she mentions at the end and is now a proud cat parent.

Intro to me and my project: Hello!! I’m Jessica, and I was lucky enough to be introduced to Eileen after she started dating her now-husband, who is good friends with my now-husband! I was so excited when she asked me to write a guest post for her blog. Eileen’s craftiness is inspiring, so even though I am often found baking or doing different types of needlework projects, I wanted to try something new for this! I have been intrigued by the examples online of people experimenting with natural dyes, so I decided to fully embrace my Elder Millennial status and try dyeing with avocado pits.
Quick project summary: I had a white tank top lying around that I spilled something (wine) on one too many times which made it the perfect test subject: If it worked it would breathe new life into the shirt, and if it didn’t work, well, I wasn’t wearing it anyway.
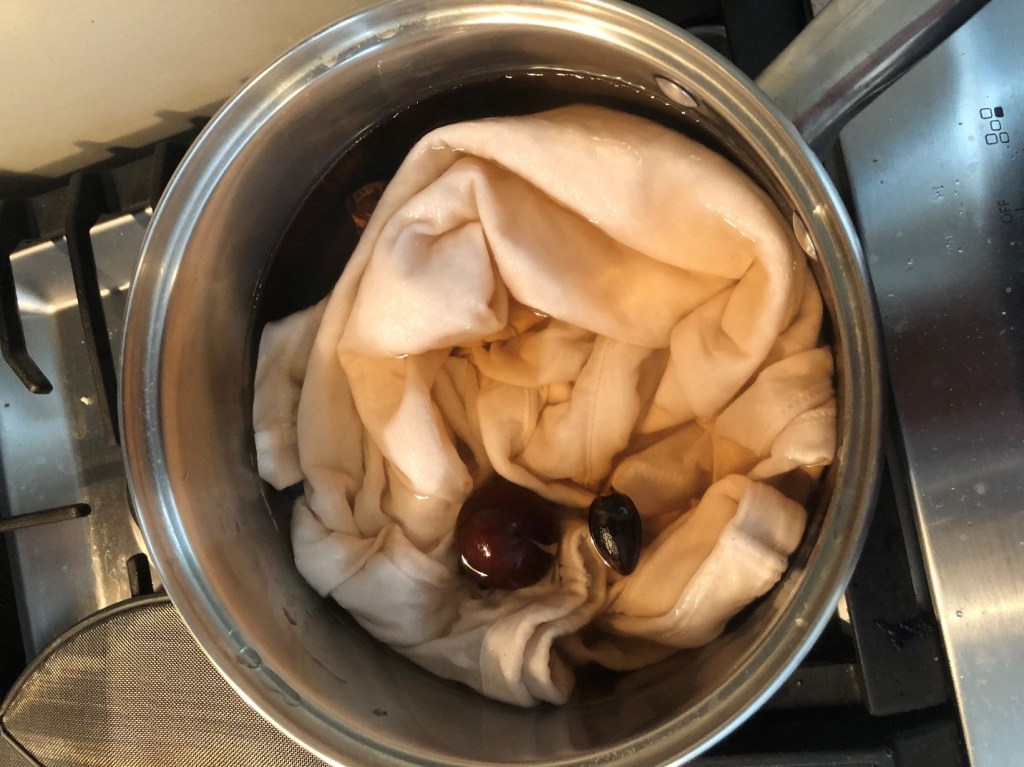
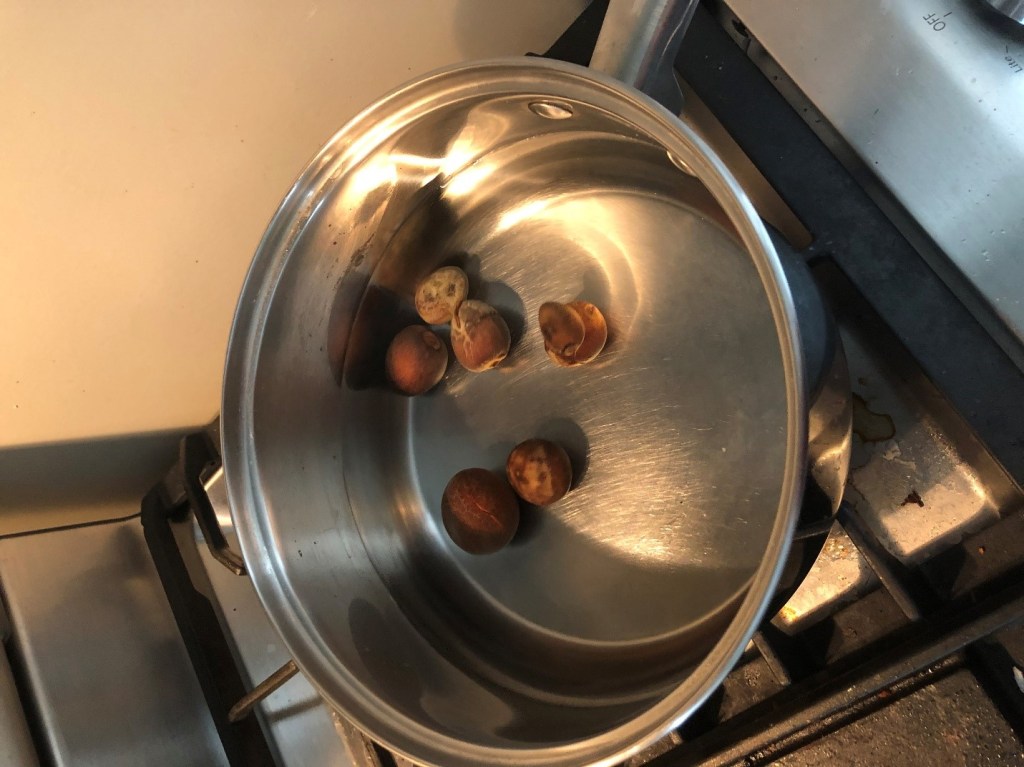
The first and most delicious step of this project was eating a lot of avocados. After I finished one, I would clean the pit well and put it in a plastic bag in the freezer. I saved seven of all different sizes, which ended up being about 3 ounces by weight. This website (https://www.kathryndavey.com/blogs/news/75241285-dyeing-with-natural-dyes-avocado-pits) suggests 3-5 pits per half pound of fabric – I wanted to deeper color so I went with a bit more!
When I was ready to dye, I filled a stainless steel pot with water, tossed in the pits, and let it sit on low heat for about an hour. When I saw that the color was getting darker, I added my shirt and let it sit in the water on super low heat for two more hours. This is a great project to do when you’re hanging out around the house – it’s very little hands on time!
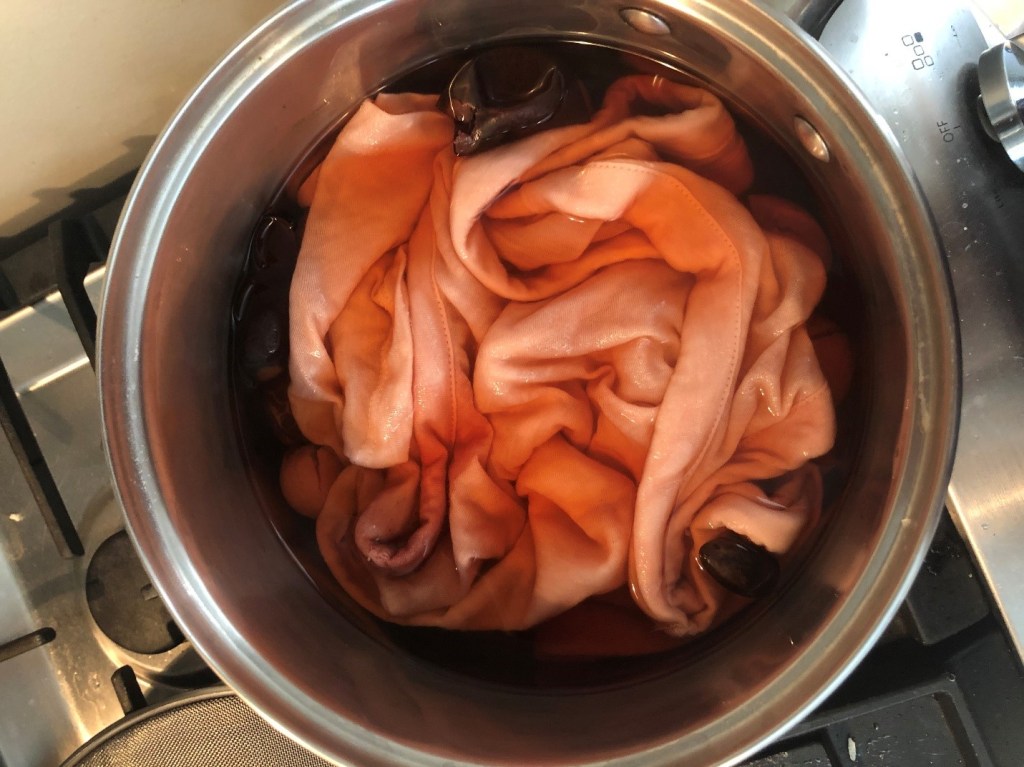
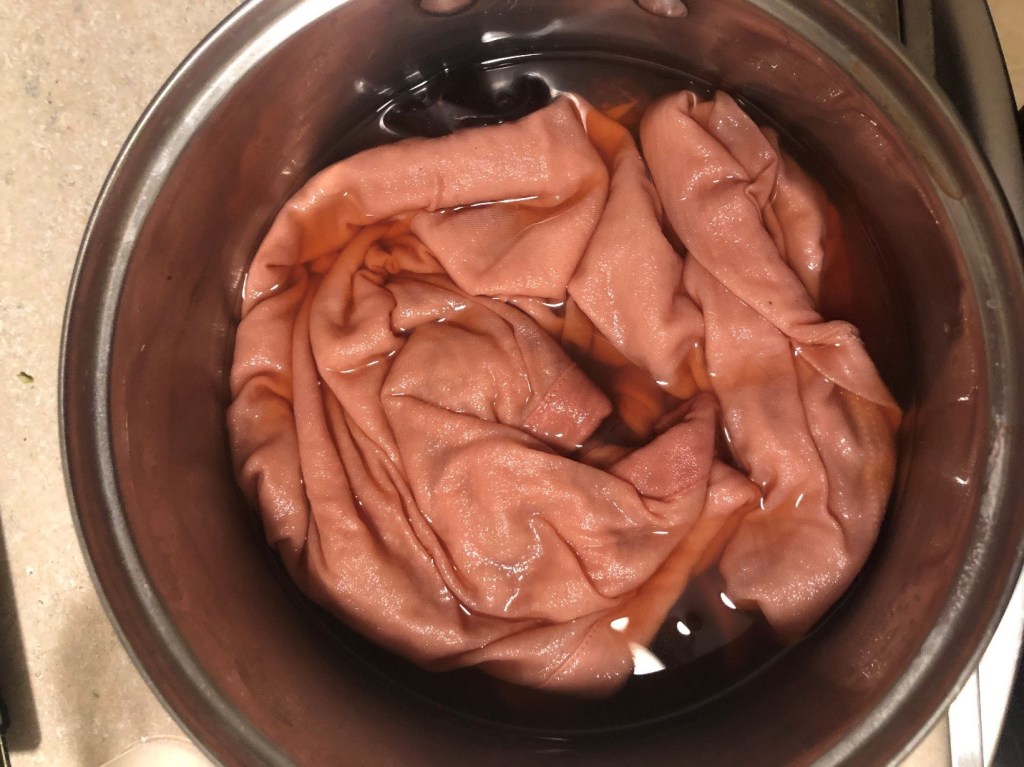
After two hours, I turned off the heat and left the shirt in there for the rest of the day – about 7 more hours — because I wanted the color to get as dark as possible. Then I simply rinsed it in cold water and hung it up to dry. The final product was a nice salmony pink color. I am not sure yet how well the color will stay, but for now it’s pretty cute!
Things I loved about this project: Even though I knew the final outcome would be pinkish, it still felt magical to watch the water deepen in color as the pits were soaking. It was so fun to see how something I normally throw away without a second thought can be used to add some extra personalization or freshen up an older piece of clothing.
What I would do differently: I did very minimal research for this project. I read enough to know that people use mordants to help the dye adhere to fabric and fixatives to help set the dye, but I did not do enough research or planning to actually make that part of my process. This little experiment piqued my interest in natural dyeing, so in the future I may look into those a bit more and try again with different dyes (for example, turmeric makes a really gorgeous yellow color)! The coloring on the shirt was a bit uneven probably because, again, it was a well-worn shirt – a new shirt would probably make for a more polished finished product.
Things I also enjoyed while doing this project:
- Listening to Blind Melon… I have no excuse, it just felt right today
- Having my windows open and enjoying gorgeous weather after a cold spring!
- Talking to a volunteer at a local shelter about adopting a cat 😊

Very cool! I would have thought it would be a brown color 🙂
LikeLike
I know! The pink is amazing!! 🙂
LikeLike