
This has to be one of my all time favorite projects. And one of my projects that friends and family loved to be gifted the most, too. Ever since I was little, I always preferred to give homemade instead of store bought gifts – I personally feel its a little extra thoughtful and you can’t put a price on it. For me, this also saves a lot of awkwardness of figuring out how much to spend on someone too. With gifting in mind, I’m posting this as my second project because while it involves little effort to assemble, it takes a long time to be ready to use. If you start in the next month or two, your homemade vanilla will be ready in time for winter holiday gifts.
Sidenote: excuse my crappy photos. I started this blog way after I took those photos which were just for me to see and not the wide world of the internet.
Quick project summary: For this project, in terms of supplies: I bought vanilla beans (Tahitian Extract Grade B beans) off amazon. Depending on how many bottles of vanilla you want to make you will need 5-6 beans per bottle (assuming each bottle is 8 ounces). Also off amazon, I bought the vanilla jars: Estilo Swing Top Easy Cap Clear Glass Bottles, Square. I also bought handles of 80 proof or greater vodka from the liquor store (cheap vodka is fine). You may also want to buy some funnels for pouring the vanilla. And for a finishing touch, I went to Michaels and got some little gold labels for the bottles (pictured above).
**Very important sidenote: if you make as much vanilla as I did, bring a companion to the liquor store. I got a lot of side eye when I went to the liquor store alone and left with 5 handles of vodka on a Monday.**
In terms of the steps, they were very simple:
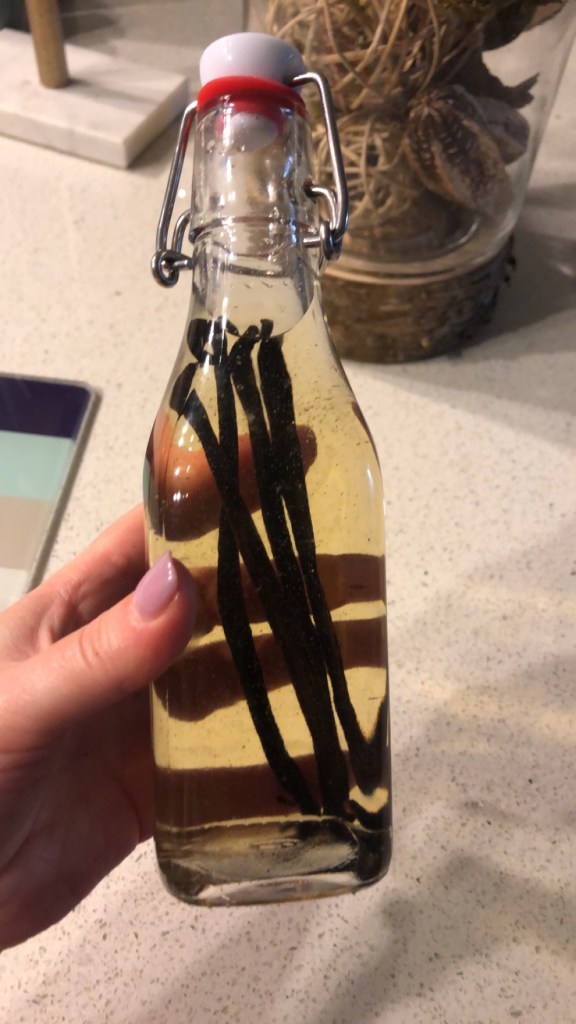
-First, I took the vanilla beans and I cut them vertically. I cut them only on one side but for quicker results, you might cut them vertically in a couple of places.
-Second, I put 5-6 beans in each of the glass bottles.
-Third, I used a funnel to pour the vodka into the jars. I filled them nearly to the top but tried to cover the full vanilla beans with each pour.
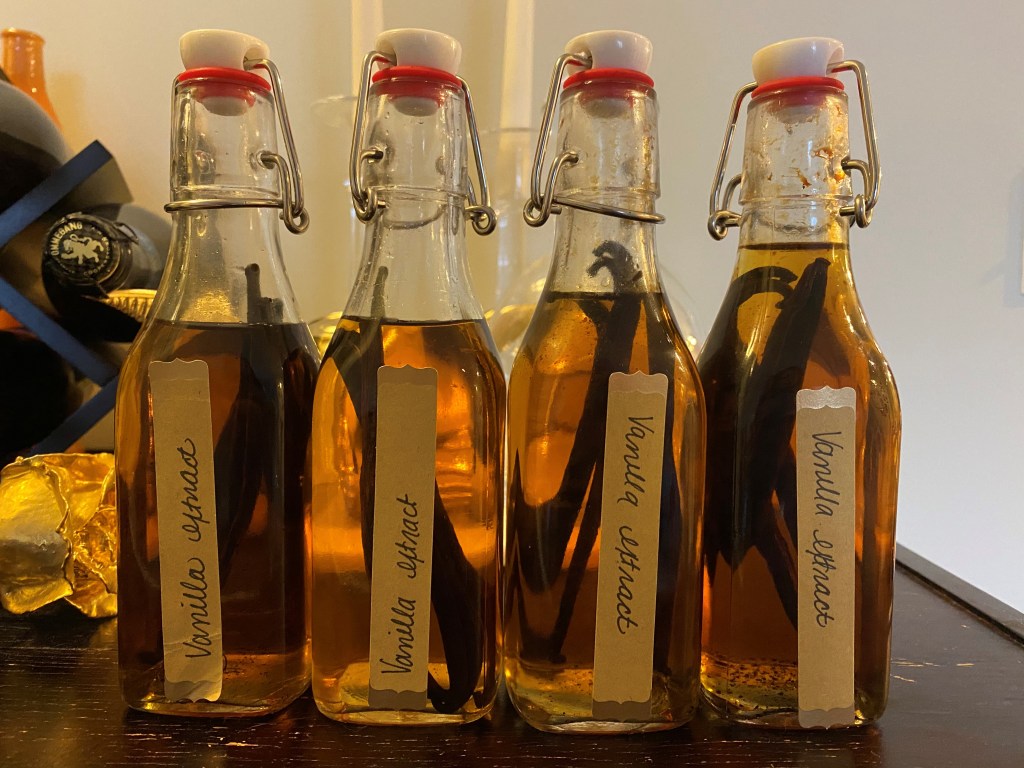
-Finally, I kept my vanilla in a cabinet that was dark but in a place I frequently walked by – to keep the vanilla creation process going I tried to shake the bottles about every two weeks so I really needed the visual reminder. The vanilla was ready in six months but was a little lighter than I wanted and continued to get a richer brown over time which I preferred. When I was ready to gift my vanilla, I added labels.
Things I loved about this project: This project was SO easy – but felt pretty fancy and made a snazzy gift. Family and friends loved receiving this at the holidays and because of how unique and useful this was, it felt like a gift that could stand on it’s own and didn’t need to be packaged with other homemade treats to make a solid present. My husband and I even added a bottle of vanilla to each of our monetary tips for our wedding vendors and they loved it, too.
This is also the gift that keeps on giving. A fun fact about vanilla with the beans left in is that if you continue to add vodka over time, it will continue to generate new vanilla for a pretty long period of time (you can also add more cuts to the beans over time to extend the life of vanilla making!).
Making this vanilla also felt like sharing the joy I get from baking with others and I’ve gotten many texts from friends using this vanilla to make delicious cakes/cookies, etc. This warms my heart because baking has always been therapeutic for me and I love sharing things that bring me joy with others. Baking is a way to use my hands at the end of the day after staring at a computer screen. Plus, kneading and whisking help me get some nervous energy out. I enjoy the idea that in some way I’m helping others do a little baking therapy, too.
What I would do differently: I wished I had started this project further in advance of when I planned to gift it. The research I did online told me it would be ready for consumption 6 months in but I just didn’t feel like it was quite as concentrated as something I’d typically buy off store shelves. I’d recommend a couple extra months. Also, I was a little too excited for this project and I didn’t shop around enough for cheaper supplies – I felt the bottles I used were a little overpriced and vanilla beans aren’t cheap either.
Things I also enjoyed while doing this project:
-Listening to Lady Gaga’s “The Cure” on repeat
-Drinking chai (it just felt right with vanilla making) – I enjoyed the Pacific Spice Chai powder mix they have at Giant.

I didn’t know you could extend the life! It’s a very flavorful vanilla extract.
LikeLike
Yay! 🙂 Yes – it’s definitely one of the benefits of not straining it or removing the beans.
LikeLike