A shout out to my friend Chrissy who introduced me to this project! These coasters were super fun to make and worked with modge podge which I haven’t used much of before (except to preserve puzzles – more on that later).
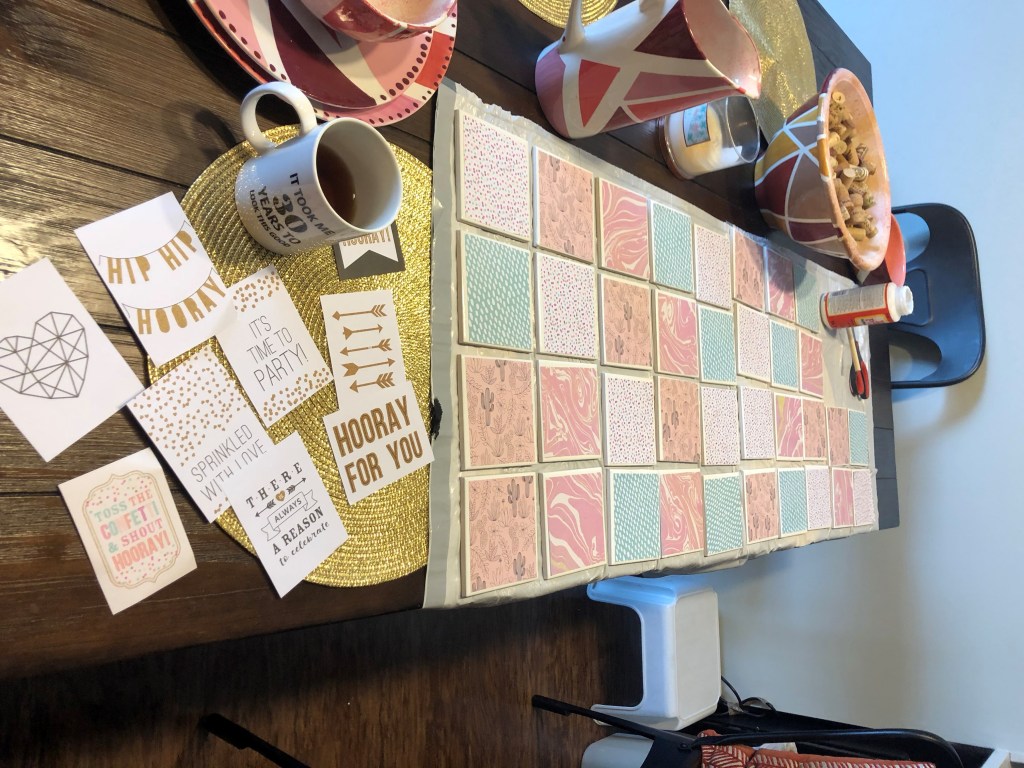
Quick project summary: To make these coasters, I started with bulk plain white square tiles bought from Home Depot. You can go to the tiling section and buy them for 10 cents or less – so cheap – and you can’t tell from this photo but I went coaster crazy and bought 100 tiles. That said, it’s not as absurd as you think especially if you want to gift coasters in sets of 4.
In addition to the coasters, I picked up the following supplies at Michael’s: a 25 pack of sheets of felt, a couple different books of scrapbook paper, Elmer’s glue, and modge podge.
To start the project, I first applied the felt backing. To do this, I cut out a square of felt a little bit smaller than the tiles. I used this as a template and cut enough felt for each tile. I used Elmer’s glue to glue these on and let dry for about 12 hours.
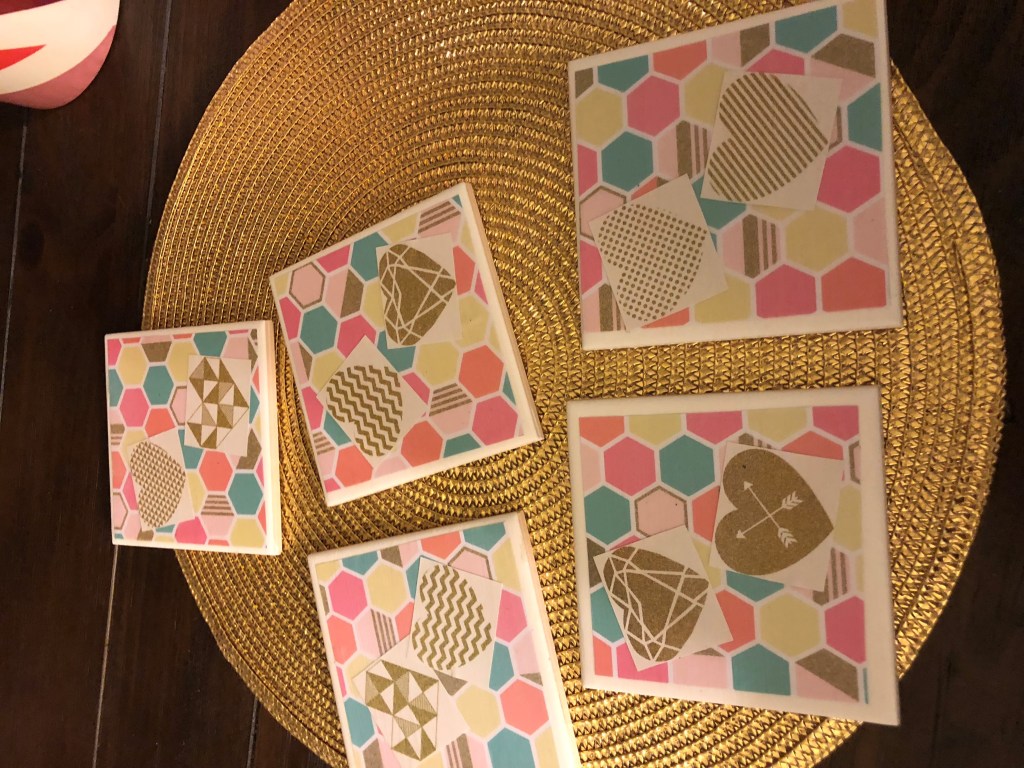
From there, I then created the same template but with the scrapbook paper for the front of the coasters. While I wasn’t particular about the felt colors, I did spend more time designing and selecting the fronts of the coasters. Some of them I used a single sheet of paper but others (like those on the top left), I used multiple layers of cut outs.
For applying the scrapbook paper to the tile, first I painted the blank tile with modge podge, then aligned the scrapbook paper, and painted over that with modge podge as well. I let this dry for an hour or so and applied another coat. If you are using multiple cut out layers, I’d recommend adding the second layer between modge podge coats.
For me, I used about 3 or 4 coats of modge podge but you really just want to see if the scrapbook paper feels secure and like it won’t peel off of the tile to know that you have enough coats.
Things I loved about this project: Working with modge podge was really enjoyable and reminded me that I need to explore more modge podge projects in the future! These were also fun gifts – especially for friends or family who have way a lot of stuff and are hard to shop for!
What I would do differently: I’m admittedly not the most patient person. I wish that I had waited a bit longer between coats of modge podge – some of my coasters were over-painted because I got a bit ambitious (read: impatient) when applying modge podge.
Things I also enjoyed while doing this project:
-Drinking chai tea out of a funny 30th birthday mug I received as a gift
-Reading inspirational quotes in the scrapbook section of Michael’s
