Do you ever go to a toddlers birthday party and watch them open approximately half their gifts which seem roughly the same? Maybe it’s just me since I don’t have kids but it’s really hard to tell the difference between a lot of gifts for toddlers. I pay extra attention to this because I still remember that I received 3 Candyland games at my third birthday – thankfully my parents trained me well and when I opened each one I noted that now I’d have a Candyland for all of my favorite rooms in the house. Anyway, I can’t stand buying kids gifts that are ordinary/the same as everyone else’s presents. Because of that, I love making both these rocking chairs or doll houses for gifts. (Doll houses will be a future project!).
Quick project summary: In case I accidentally impressed you, I did not do the woodworking for these chairs. You can buy small unfinished rocking chairs at Michaels. This chairs are a little pricey but the quality is good and if you wait for the 20 percent off coupon, totally worth it!
You’ll also need some sand paper, your paint colors, and a clear varnish. For the paint, you can either use a spray paint that is weather proof or you can just do a traditional paint/brush. I’ve done both and I found the spray paint with a brush on the side to smooth it out looks cleaner/nicer than just a paint and brush – the layers go on very well and you don’t see any brush strokes.
Optional: You may want a painters cloth or tarp if you spray paint. I used trash bags and didn’t feel like they worked quite as well. (See the “what I would do differently”). Regardless, this is definitely an outside/garage project.
Here’s the quick steps for this project:
-Sand
-Paint – probably about 3 coats (maybe 4 depending on your color). You can also prime these chairs if you want but I did not.
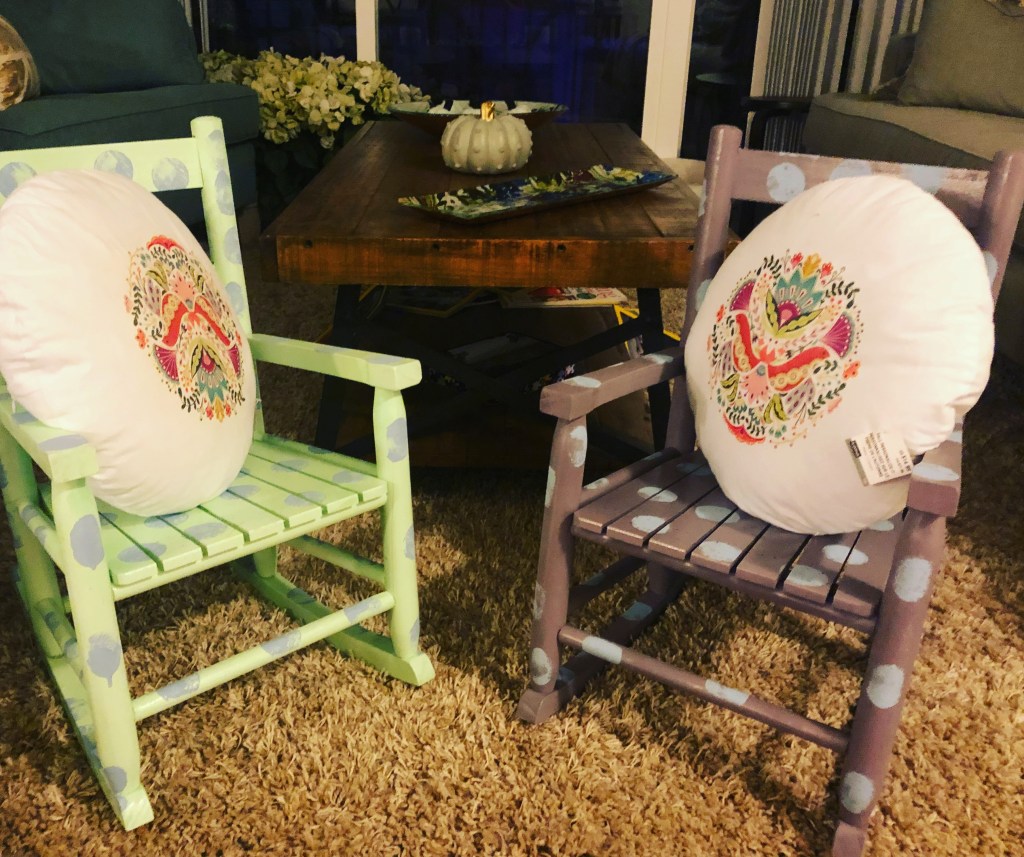
-Add embellishments – I sponged on some polka dots and also used a paint marker to write the names of the recipients on the top rung of the chair on the back.
-Varnish – probably 2 coats
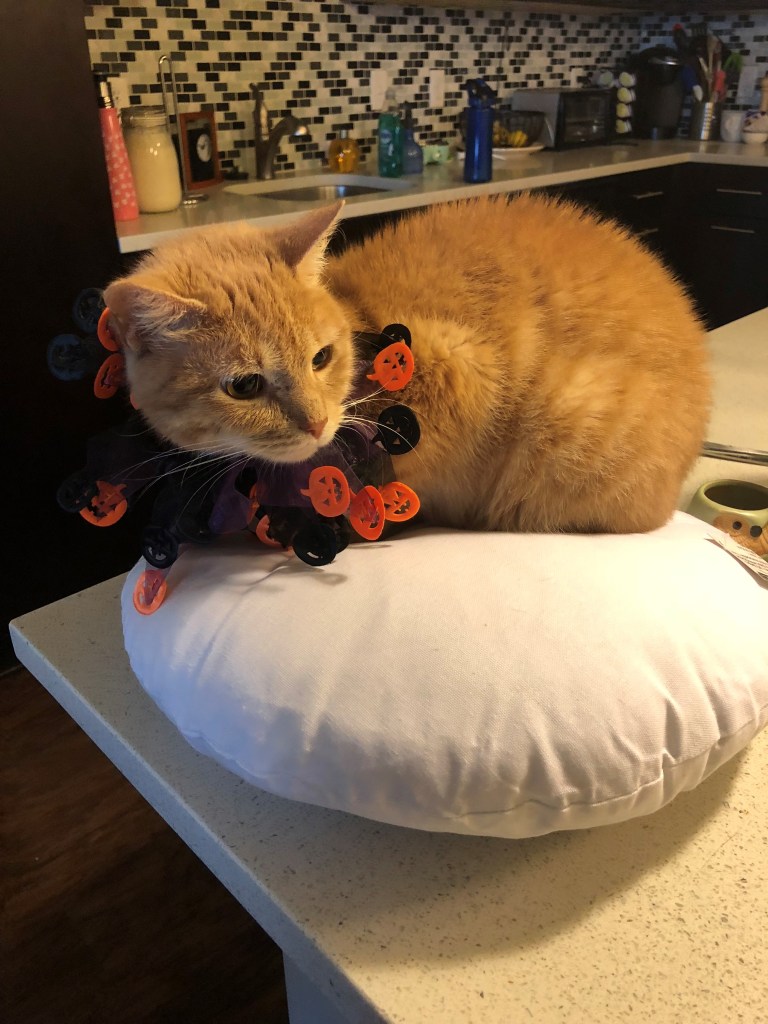
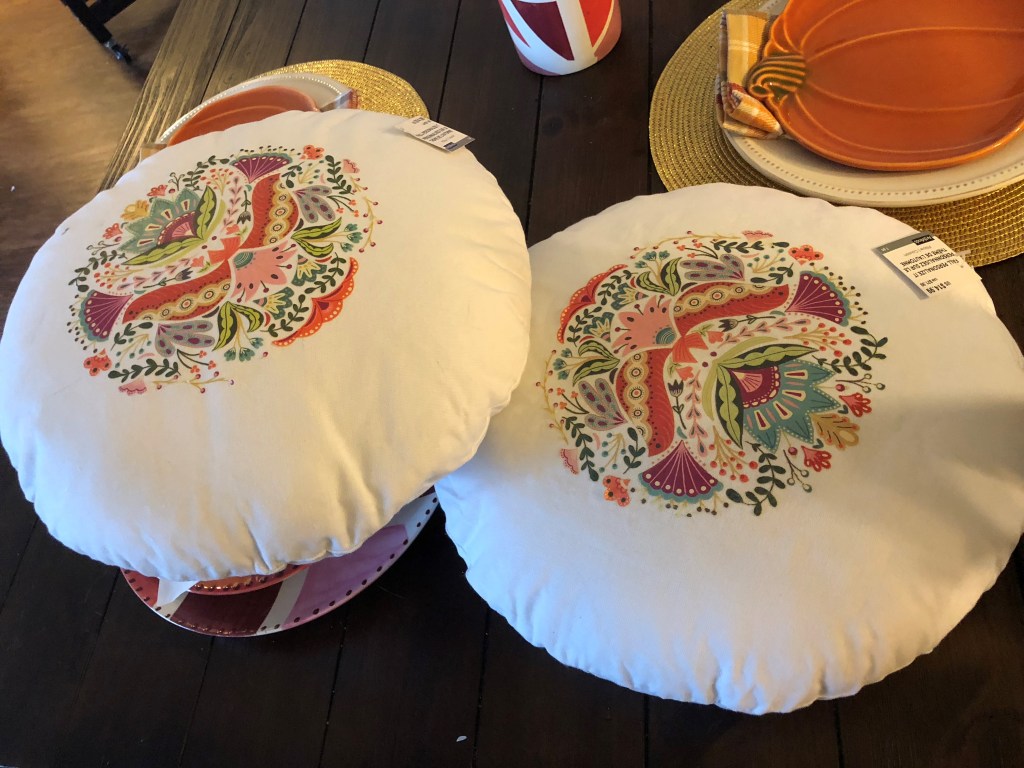
Also optional: I added some little pillows. If the recipient is particularly tiny, they may need a little boost from a pillow and I thought the pillows made the chairs feel extra cozy. I also bought the pillows at Michaels (plain white) and then added an iron on. As you can see, my adorable kitten also approved of the pillows. As you can also see, I bought her a Halloween collar at Michaels, too – she wore it for approximately 3 minutes.
Things I loved about this project: This definitely makes a unique gift for the kiddos in your life. And, while it feels unique and special, you don’t have to be too skilled in painting to make the chair. You could certainly get a lot fancier and paint some flowers or other fun scenes on it beyond just the polka dots but these still come out really well without the additional flair. Maybe I’m sentimental but I like this a little extra because I had a rocking chair with my name on it as a kid, too (and, I’ve still saved it).
What I would do differently: So, apartment living is not the ideal place to make these chairs. I did the painting on our balcony and honestly stained our balcony in a way that required a lot of unexpected scrubbing and clean up. Also, I think the pillows I got were just a little too large – I’d go for something a bit smaller than what is picutred.
Things I also enjoyed while doing this project:
-Sitting on the “poofs” on my balcony and drinking wine
-Listening to Missy Elliott (my favorite artist of all time)
